This is Spinny v1.0 - The rotating and capturing device for less than 40€ for DSLR and DSLM cameras and soon also for smartphones.
It is used to capture images of a rotating object to do a photogrammetric 3d reconstruction of the object.
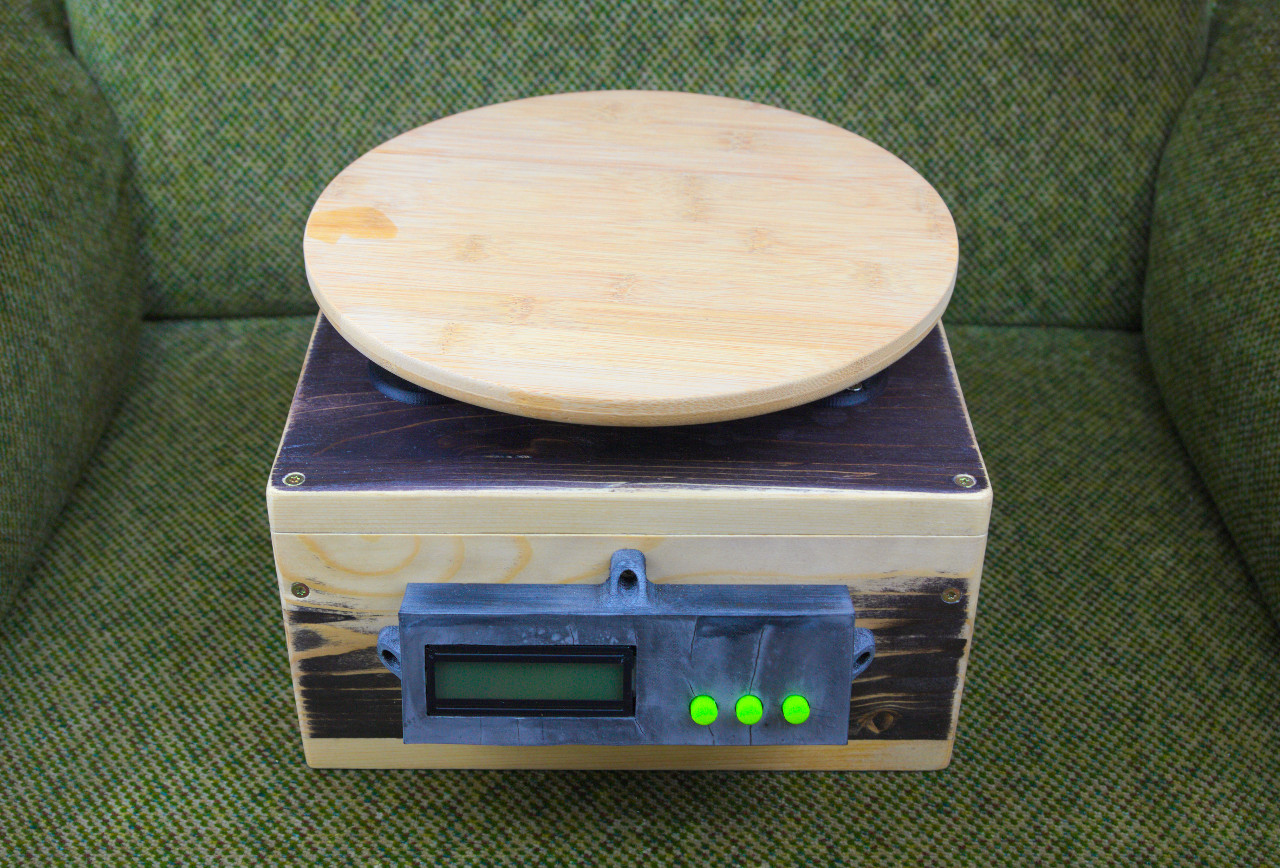
It rotates an object on its platform with a defined step size.
After every partial rotation step, a DSLR or DSLM camera is focused if needed and triggered to capture the image of the object at its current position.
A video of the very first test of the device can be found here:
https://www.youtube.com/watch?v=cjrfnW4TU9g
The different parts of the device
The main body of the device is made of some old wooden plates. It has a size of 250x250x100mm. The PCB is made out of some perfboard. I have not used perfboards for months or maybe years so I decided to make the first version like this. Its a quick and dirty design so there is space for some improvements.
The heart of the device is a Arduino Nano with AtMega328P 5V. To power it up, a simple 12V 5A power supply is plugged into the dc plug. To generate 5V for the 328P an LM2596 Step-Down converter is used.
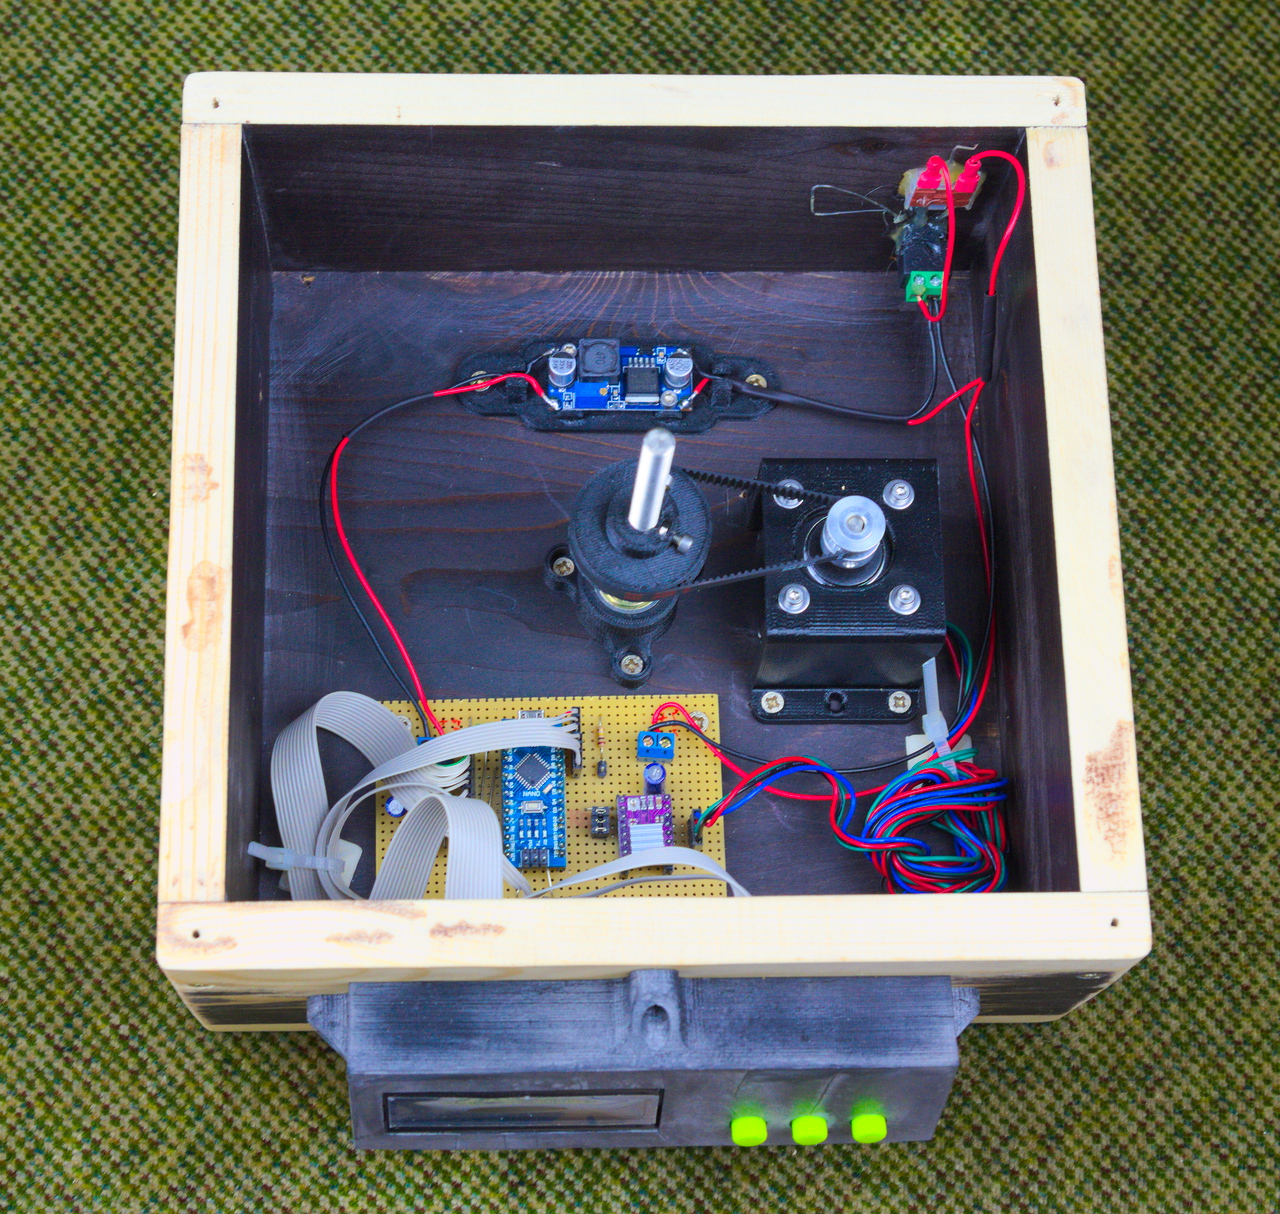
The different mounts for the motor, the bearings, the display and buttons and so on, are made with one of my 3d printers. The cabling is also a bit sloppy but who cares.
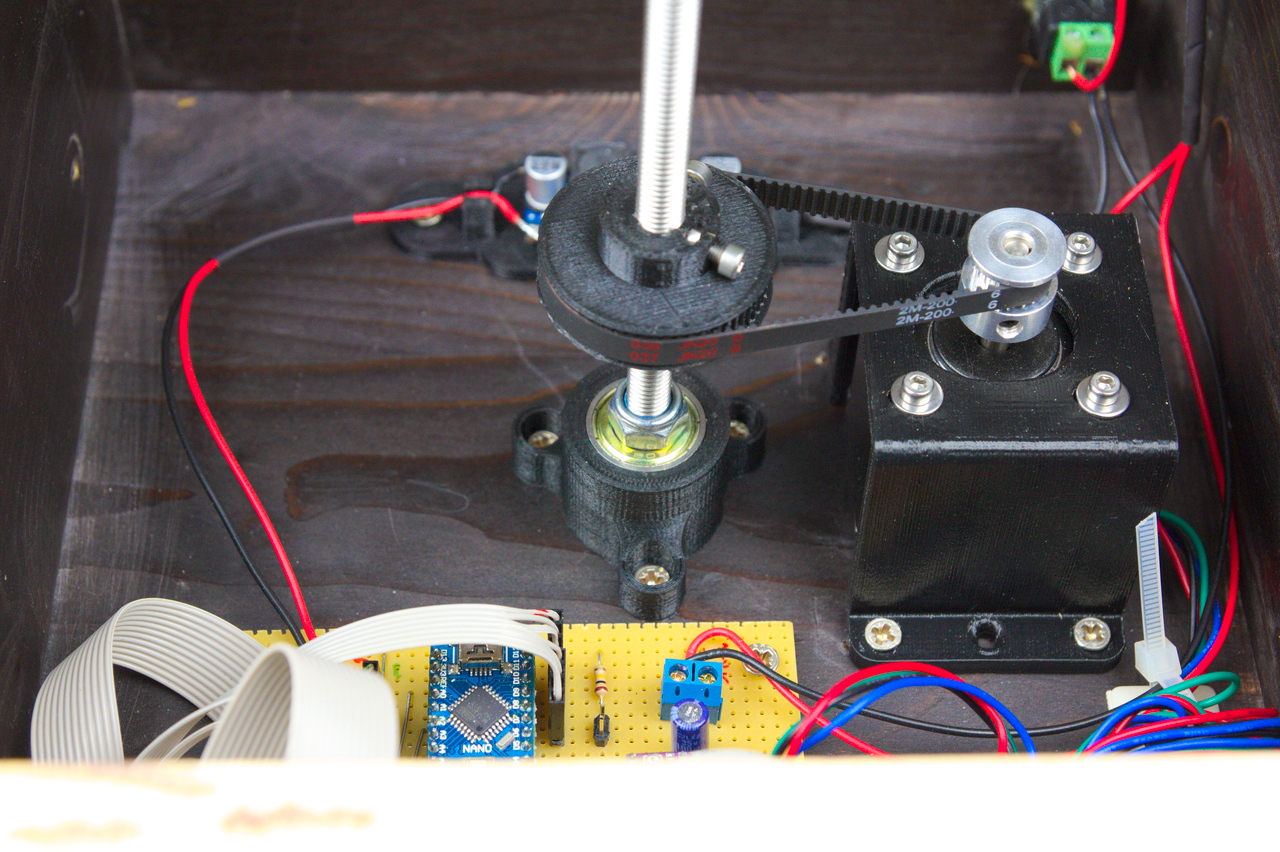
The bottom mount for the linkage uses two bearings and is screwed to the bottom with 3 screws. To connect the inner 60T GT2 pulley with the Nema17 motor pulley 20T I used a 2M-200 100T GT2 belt.
On top of the top cover plate, there are 3 bearings mounted to prevent the top plate from tilting.
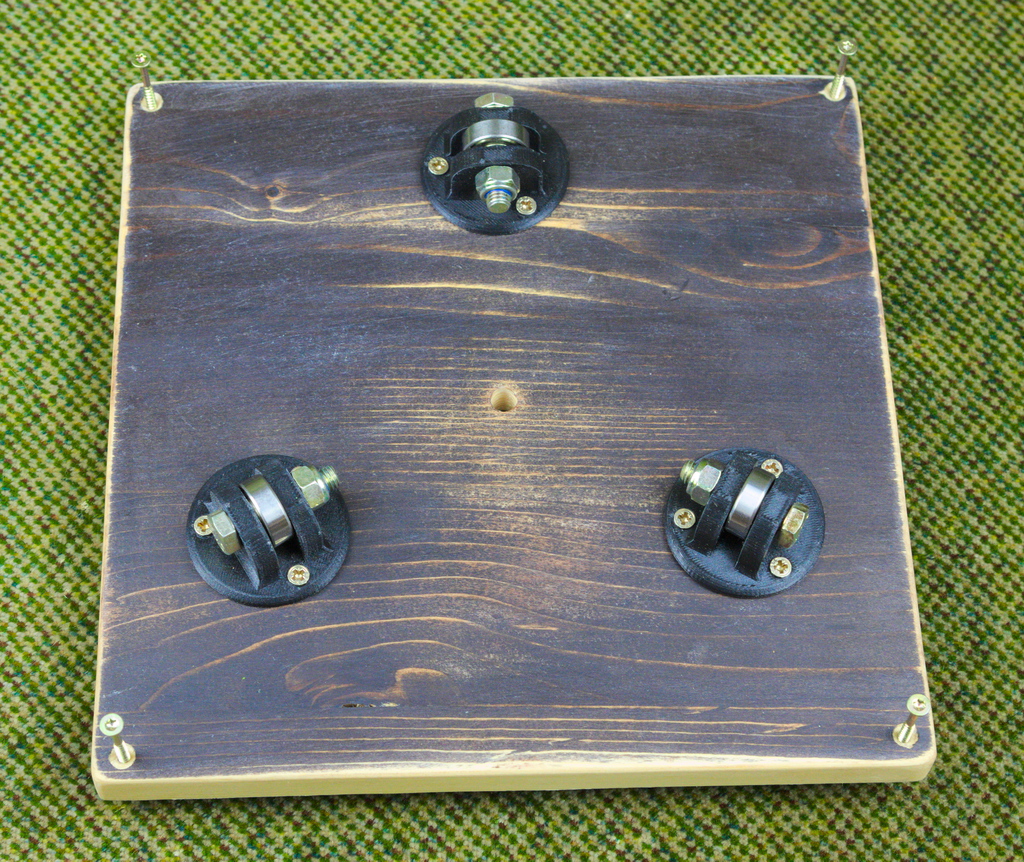
On the bottom side of the top cover plate, there is also a bearing with a mount to hold the main linkage in place.
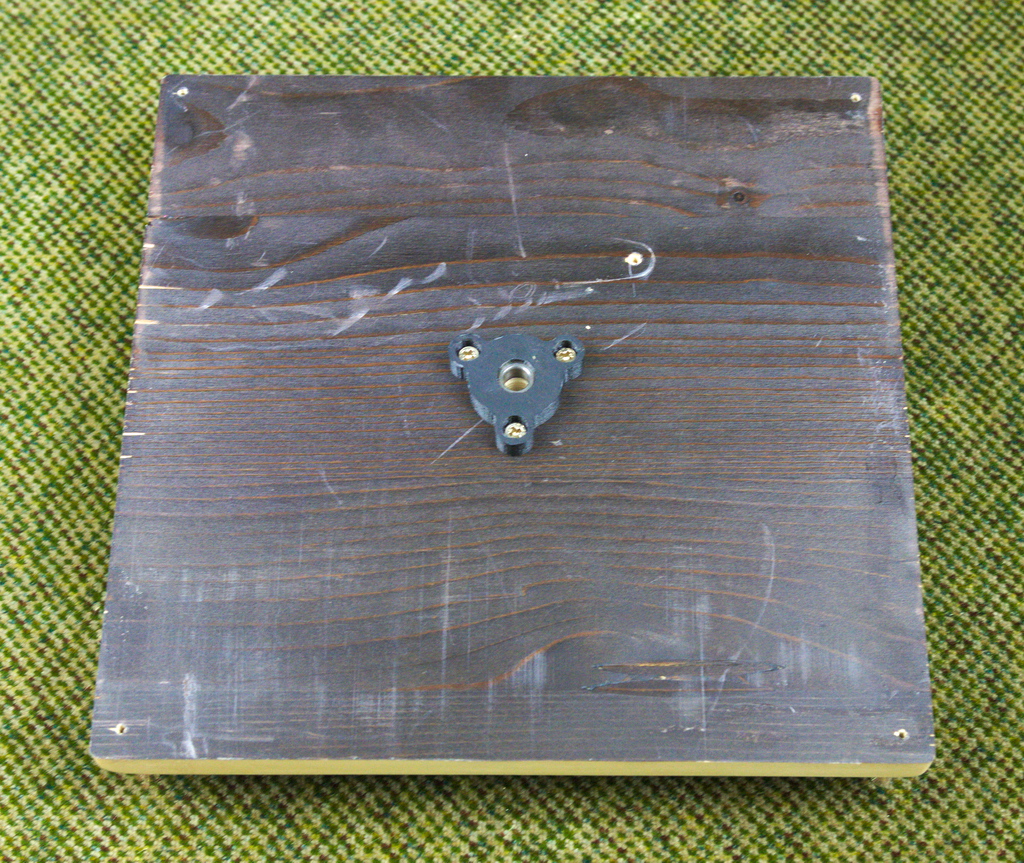
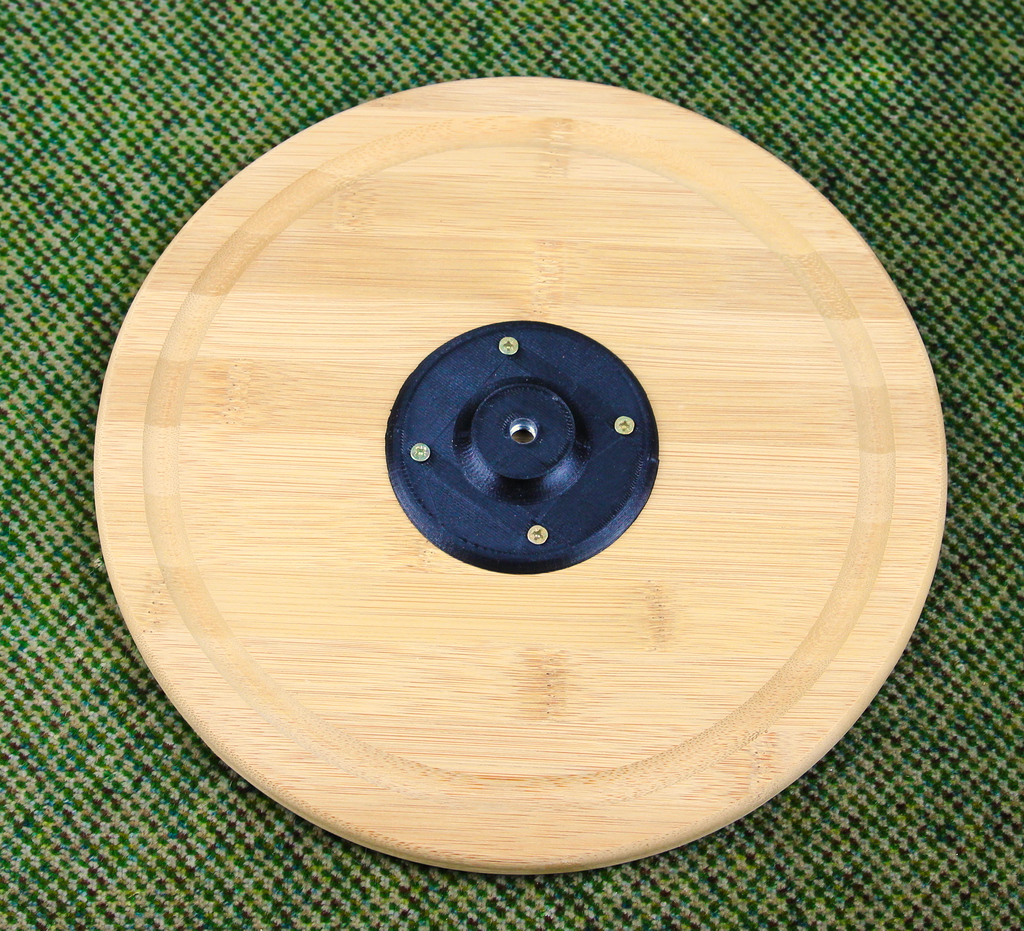
For the rotating plate a simply bamboo cut plate from the supermarket is used. Onto the top of the plate which is now my bottom, I screwed a simple mount for the main linkage.
Bill of material (BOM)
1x Wooden Box 250x250x100 (2€)
1x Round cutting plate 250mm (5€)
1x Nema 17 motor 1.8A or less (8€)
1x 20T 5mm Pulley (0.5€)
1x 60T 8mm Pulley (printed)
6x 608zz bearing (3€)
1x Perfboard (1€)
1x Arduino Nano 5.0V with Atmega328p (3€)
1x DRV8825 stepper driver (2€)
1x 1602 Display (4€)
3x Button (1€)
1x 2.1 x 5.5 mm male dc plug (1€)
1x 2.5 mm jack plug (2€)
1x Power switch (1€)
1x LM2596 Step-Down converter (2€)
1x M8x142mm threaded rod (1€)
5x M8 screw nut (1€)
6x M3 screw
some wood screws
some cables, capacitors, resistors, pin headers, ect. (3€)
User Parameter
The first version has only some basic user parameter to set
OBJECT ANGLE: The rotation angle of the object which should be captured (normaly 360 °)
PICTURE COUNT: The amount of images to capture within the object angle
FOCUS TIME: The time in milliseconds the camera should be focus before it gets triggered
TRIGGER TIME: The time the camera gets triggered before the next rotation step will be processed
DIRECTION: The rotation direction of the platform (left or right)
SPEED: The rotation speed, slower is better but too slow will result in a shaky behavour
CAMERA_MODELL: This option is used to switch between different camera models (not needed at the moment)
Software
The source code is not yet available for everybody, but you can still have the compiled hex file.
Compiled hex file for Spinny with AtMega328p
Additional Informations
I was inspired for this project by some nice tools people made for there cameras.
http://sternhimmel-ueber-ulm.de/timer00.htm
http://www.doc-diy.net/photo/sound_trigger/

Comments powered by CComment