Tasmota's WebUI is themable using the WebColor command. This command gives you the ability to change 19 color groups.
If you like to modify the appearance of your Main-Menu a little bit more, you have more or less two options.
- Change the design in the xdrv_01_9_webserver.ino file before building and flashing.
- Use Scripting instead of Rules and add the style into your script.
The following lines of text explain the 2nd option.
Keep in mind, Tasmota is meant to be used via MQTT and the UI is more a tool for admins than users. Nevertheless, if you just have a few devices you want to use, like a smart meter or fingerprint sensor based on Tasmota, you can adapt the appearance a bit. You can also simulate some kind of user mode for your family with some simple CSS code.
For this method, you need to disable the rules and use the following #defines set in my_user_config.h or user_config_override.h, rebuild Tasmota and flash your device.
#define USE_SCRIPT
  #define USE_SCRIPT_WEB_DISPLAY
When the new build version of Tasmota is flashed, you can set some good old CSS styles in the >W or >WS section of the script. To make your own style, I recommend the Inspector tools of your favorite browser. Like as always with scripting, keep in mind that, based on which ESP you want to use, we are limited to 2560 characters for the script. Keep also in mind, that you can only change the Main-Menu style by using the <style></style> tags in the >W or >WS section, because it will be only included into the table section showing the output variables.
Styling a Tasmota button
Let's say you want to style your Tasmota buttons. Therefore you have more or less 3 different option.
Option 1
Using e.g. "WebColor11 #ff0000" in the console to permanently set the button color and "WebColor12 #880000" to set the button hover color.
Option 2
Same as above, but except by executing the command in the console, we put it into the script under the >B section like this:
>B
=>webcolor11 #ff0000
=>webcolor12 #880000
Option 3
By using a CSS style in the >W or >WS section, but this will only affect the Main-Menu.
<style>button{background:#ff0000;}button:hover{background:#880000;}</style>
Using a Background Image
Like in the example above, you can set a background image for the body of the page by using a URL-path. Because we are limited in characters and URLs can be very long, it can be a good practice, to shorten the URL with services like https://short1.link.
A style to set the background image of the body can then look like this.
<style>body{background-image:URL("https://is.gd/v6lsX6");background-size:60%%;}</style>
This method will only work if the original image URL and the shortened URL are persistent.
Tasmota and how to simulate user mode with CSS
This can be helpful if you want to allow family members to have access to the Tasmota WebUI main menu without the direct ability to mess something up. This is not a real user mode for Tasmota, and can not prevent that modifications are done.
By simply adding the following CSS code to your >W or >WS section, you can hide all the buttons and just keep buttons which has been added via scripting.
<style>form button{display:none}</style>
You can still reach the different WebUI pages by adding the direct link into the browser like this:
http://192.168.0.152/cs?
But your family members can no long click on a wrong button and mess something up.
Stretching Styles
Use the Solarized Dark theme as a default for all the following styles.
WebColor {"WebColor":["#839496","#002b36","#073642","#839496","#002b36","#839496","#073642","#b58900","#859900","#eee8d5","#268bd2","#185886","#dc322f","#90211f","#859900","#647300","#839496","#073642","#839496"]}
Some style which stretch the image to window size.
dark tux
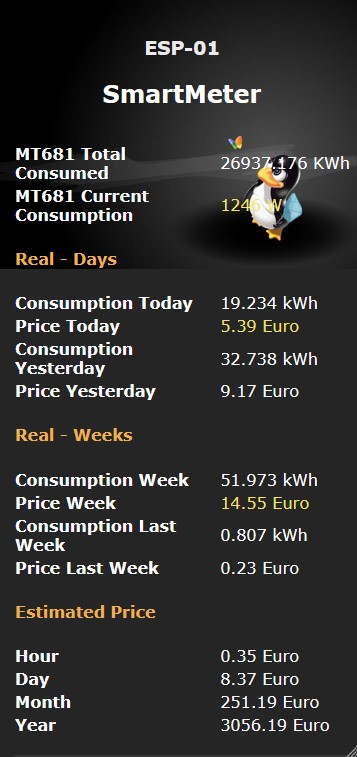
console command:
webcolor11 #353535
webcolor12 #151515
>W section:
<style>table tbody tr th{color:#ffffff;}table tbody tr td{color:#ffffff;}h2{color:#fff;}h4{color:#f1b24c;}#ptd{color:#f3e463;padding:0px;}</style>
<style>body{background-image:URL("https://is.gd/EWwPft");background-size:contain;background-repeat:no-repeat;}</style>
green tux style
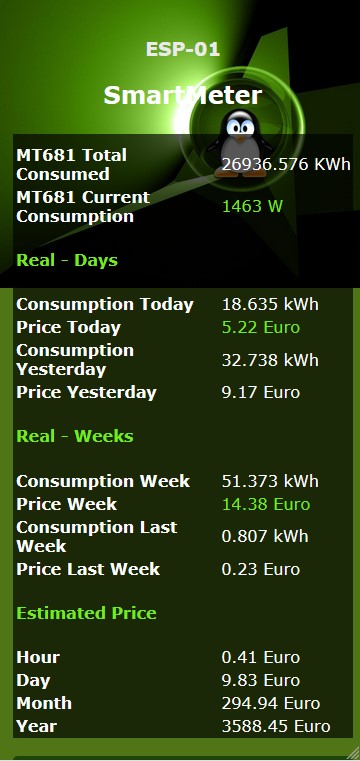
console command:
webcolor11 #1c4507
webcolor12 #42bc00
>W section:
<style>table tbody tr th{color:#ffffff;}table tbody tr td{color:#ffffff;}h2{color:#fff;}h4{color:#72ec1f;}#ptd{color:#72ec1f;padding:0px;}</style>
<style>body{background-image:URL("https://is.gd/G8v3ba");background-color:#4f7517;background-size:contain;background-repeat:no-repeat;}table{background:#000000a8;}</style>
Repeating Styles
Some styles which use seamless repeating images.
blue snowflake
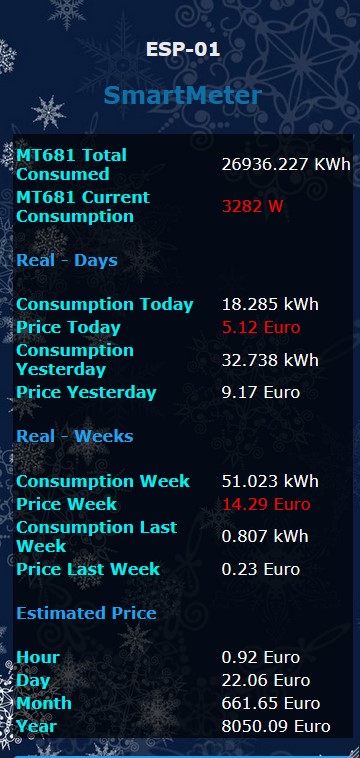
console command:
webcolor11 #1fa3ec
webcolor12 #00eeee
>W section:
<style>table tbody tr th{color:#00eeee;}table tbody tr td{color:#ffffff;}h2{color:#0e70a4;}h4{color:#1fa3ec;}#ptd{color:#ff0000;padding:0px;}</style>
<style>body{background-image:URL("https://bit.ly/3Ccsxv0");background-size:cover;}table{background:#000000a8;}</style
green cross
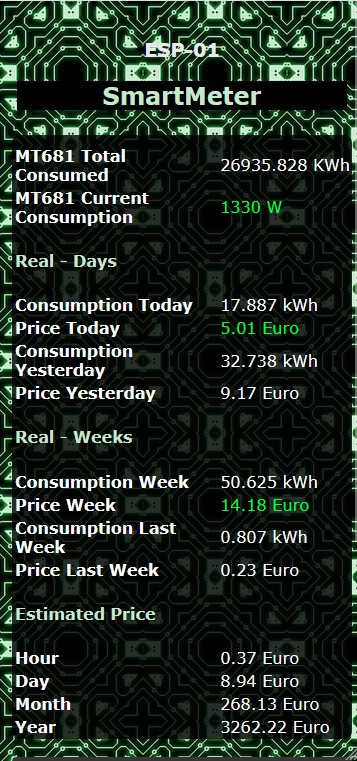
console command:
webcolor11 #353535
webcolor12 #00a624
>W section:
<style>table tbody tr th{color:#fff;}table tbody tr td{color:#fff;}h2{color:#c7e8cd;background-color:#000;}h4{color:#c7e8cd;}#ptd{color:#00ff37;padding:0px;}</style>
<style>body{background-image:URL("https://is.gd/b6wSLn");background-size:40%%;}table{background:#000000cf;border-radius:8px;}</style
violet texture
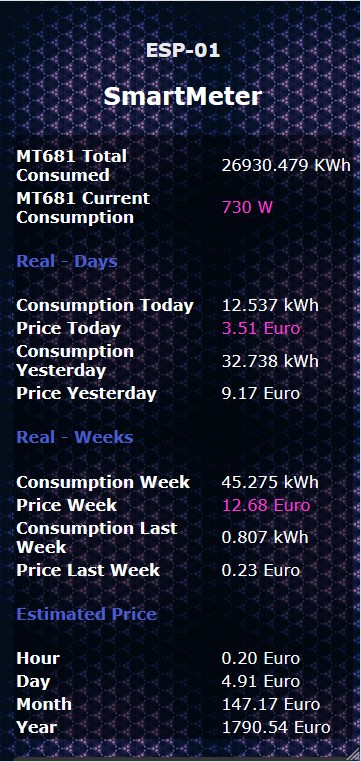
<style>table tbody tr th{color:#fff;}table tbody tr td{color:#fff;}h2{color:#fff;}h4{color:#485ccf;}#ptd{color:#ff37d6;padding:0px;}</style>
<style>body{background-image:URL("https://is.gd/v6lsX6");background-size:60%%;}table{background:#0000007a;border-radius:8px;}button{background:#353535;}.bred{background:#b32997;}</style>


Comments powered by CComment