The Robot Operating System (ROS) is a collection of software for all kind of robot applications. In this article I write down some informations and guides for various ros-packages.
Using RPLIDAR in ROS Melodic
If you want to use a cheap laser scanner e.g. RPLIDAR A1 in ROS it is quite simple. The manual can be found here.
First make sure that you have installed python-rosinstall, if not install it.
sudo apt-get install python-rosinstall
Next create a ROS workspace if you not have one already.
mkdir -p ~/catkin_ws/src
cd ~/catkin_ws/src
catkin_init_workspace
Then clone the ROS node for the RPLIDAR in the catkin workspace src directory
git clone https://github.com/robopeak/rplidar_ros.git
Next build it with catkin
cd ~/catkin_ws/
catkin_make
Don't forget to set the environment and it variables when build is complete
source devel/setup.bash
and to check the USB devices e.g. ttyUSB0
ls -l /dev |grep ttyUSB
and set its right to write
sudo chmod 666 /dev/ttyUSB0
Launch the rviz demo and test if everything works
roslaunch rplidar_ros view_rplidar.launch
Using "joy-node" in ROS Melodic
So when you want to use thejoystick-driver with there joy-node you need to install some packages first.
libusb missing
sudo apt-get install libusb-dev
libspnav / spnav.h missing
sudoapt-get install libspnav-dev
libbluetooth / bluetooth.h missing
sudo apt-get install libbluetooth-dev
sudo apt-get install bluez (not always needed)
libcwiid / cwiid.h missing
sudo apt-get install libcwiid-dev
Now you can clone the source
cd ~/catkin_ws/src
git clone https://github.com/ros-drivers/joystick_drivers.git
and then make it with catkin
cd ~/catkin_ws
catkin_make
If you want to test your joystick first, have a look under what name you joystick is listed:
ls /dev/input/js*
You can cat the output and should see weird signs as an output if the joystick works.
cat /dev/input/js*
As an alternative, use the tool "jstest" therefore you need the joystick package
sudo apt-get install joystick
You can then use it like this
jstest /dev/input/js*
Some more informations about testing Joysticks can be found here!
Using "hector-mapping" in ROS Melodic
The hector-mapping nodes depend on Qt4, so you need to install it first.
sudo apt-get install qt4-qmake qt4-dev-tools
Move into catkin_ws/src, clone the source files and then make them
cd ~/catkin_ws/src
git clone https://github.com/tu-darmstadt-ros-pkg/hector_slam.git
cd ~/catkin_ws
catkin_make
First run of "hector-mapping"
For a quick test of the hector_mapping two launch files needs to be modified.
Edit the "mapping_default.launch" file
nano ~/catkin_ws/src/hector_slam/hector_mapping/launch/mapping_default.launch
and uncomment the second last line to look like this.
<node pkg="tf" type="static_transform_publisher" name="base_to_laser_broadcaster" args="0 0 0 0 0 0 base_link laser 100" />
Modify the third line to his
<arg name="base_frame" default="base_link"/>
and the fourth line to this.
<arg name="odom_frame" default="base_link"/>
Also edit the "tutorial.launch" file
nano ~/catkin_ws/src/hector_slam/hector_slam_launch/launch/tutorial.launch
and replace the third line to look like so
<param name="/use_sim_time" value="false"/>
To start the mapping process use
roslaunch hector_slam_launch tutorial.launch
Some more informations can be found here!
Using "gmapping" in ROS Melodic
(sudo apt-get install ros-melodic-openslam-gmapping)
cd ~/catkin_ws/src
git clone https://github.com/ros-perception/openslam_gmapping
git clone https://github.com/ros-perception/slam_gmapping
(rosdep install --from-paths -i)
cd ~/catkin_ws
catkin_make
SLAM (Simultaneous Localization and Mapping) approaches based on ROS
gmapping
https://openslam-org.github.io/gmapping.html
Additional informations about gmapping and ROS:
hector_slam
http://wiki.ros.org/hector_slam
https://github.com/tu-darmstadt-ros-pkg/
Additional informations about hector and ros:
ROS and Hector SLAM for Non-GPS Navigation
karto
https://github.com/ros-perception/open_karto
https://github.com/ros-perception/slam_karto
cartographer
https://github.com/googlecartographer
nav2d
A comparison of ROS-based visual SLAM methods can be found in the article from Comparison of ROS-based Visual SLAM methods in homogeneous indoor environment written by Ilmir Z. Ibragimov and Ilya M. Afanasyev.
Lidar SLAM without ROS for less than $200
Using "sound_play" in ROS Melodic
To use the sound_play package in ROS Melodic, the easiest way is to install it via apt-get.
sudo apt-get install ros-melodic-sound-play
It is also possible to build the source, but then you need to install all neccessary dependencies by hand.
If you get a "No package 'gstreamer-video-1.0' found" error during catkin_make process, try to install
sudo apt-get install libgstreamer-plugins-base1.0-dev
If you run ROS Melodic on Ubuntu 18.04 on a Raspberry Pi 3 B+ you need to enable the sound in the config.txt file.
sudo nano /boot/firmware/config.txt
Add the following line to the config file.
dtparam=audio=on
If the volume is to low, it's possible to change it with the amixer set command like this.
amixer set PCM -- -1200
It is also possible to set the volume with a percentage value.
amixer sset PCM,0 85%
TF - Error was Lookup would require extrapolation into the future
This error can be caused by delayed processing in some of the nodes, or if a master-slave system is used it is most likely that the used systems do not have the same time. In that case it is a good practice to use a tool like "chrony" to synchronize the times.
apt install chrony
To start chrony daemon during boot use this command
systemctl enable chrony
To synchronize the times, it is neccessary to run chrony on one device as a server. A simple server config is placed at /etc/chrony/chrony.conf and can look like this
# Use time server pools to synchronize the time
pool ntp.ubuntu.com        iburst maxsources 4
pool 0.ubuntu.pool.ntp.org iburst maxsources 1
pool 1.ubuntu.pool.ntp.org iburst maxsources 1
pool 2.ubuntu.pool.ntp.org iburst maxsources 2

# Use a time server to synchronize the time
server de.pool.ntp.org iburst

keyfile /etc/chrony/chrony.keys
driftfile /var/lib/chrony/chrony.drift
logdir /var/log/chrony
maxupdateskew 100.0
rtcsync
makestep 1 3
local stratum 8

# allow an ip to synchronize with server
allow 192.168.0.132

# allow a net to synchronize with server
allow 192.168.1.0/24
A config for a client is shorter.
keyfile /etc/chrony/chrony.keys
driftfile /var/lib/chrony/chrony.drift
logdir /var/log/chrony
maxupdateskew 100.0
rtcsync
makestep 1 3

# server in the network to synchronize the time with
server 192.168.1.191 minpoll 0 maxpoll 5 maxdelay .05
To check the synchronization the "tracking" argument is very useful
chronyc tracking
chronyc -a tracking
Additional informations about "chrony" can be found on Ubuntu Bionic: Using chrony to configure NTP or on docs.oracle.com - Time Synchronization (Chrony)
Rviz does not show robot model
A known problem with ROS melodic and newer Ubuntu system like Bionic Beaver where the robot model does not be visualized in Rviz. Floating point values in the urdf description file will not be parsed correctly, only the integer part of the floating point value gets parsed correctly. To fix it, use
export LC_NUMERIC="en_US.UTF-8"
It often happens if you use german locales in your setup.
Tutorial zum erstellen von Robotermodellen (Building a Visual Robot Model with URDF from Scratch)
Wer sich durch dieses Tutorial durchgearbeitet hat wird sehr schnell feststellen, dass es also auch möglich ist, komplette Mesh-Modelle zu laden. Diese bieten den Vorteil, dass sie wesentlich komplexer sein können als die direkt per URDF erstellten Modelle. Dieser Vorteil ist jedoch auch ein Nachteil, da bei jeder Zustandsänderung die komplexen Mesh-Modelle in rviz neu gezeichnet werden müssen.
Erstellen von einem Mesh-Modell z.B. für rviz mittels SketchUp
Als komfortables und kostenloses Programm hat sich SketchUp von Goolgle herrausgestellt. Mit diesem Programm kann man recht intuitiv einfache dreidimensionale (3D) Objekte erzeugen.
Zur Veranschaulichung habe ich das Bild eines schlichten 3D-Modells (Sick Laserscanner PLS101-312) angehängt. Ich persönlich finde, detailreicher muss solch ein Model auch nicht sein. Zur Not täte es eben auch ein einfacher quadratischer Klotz.
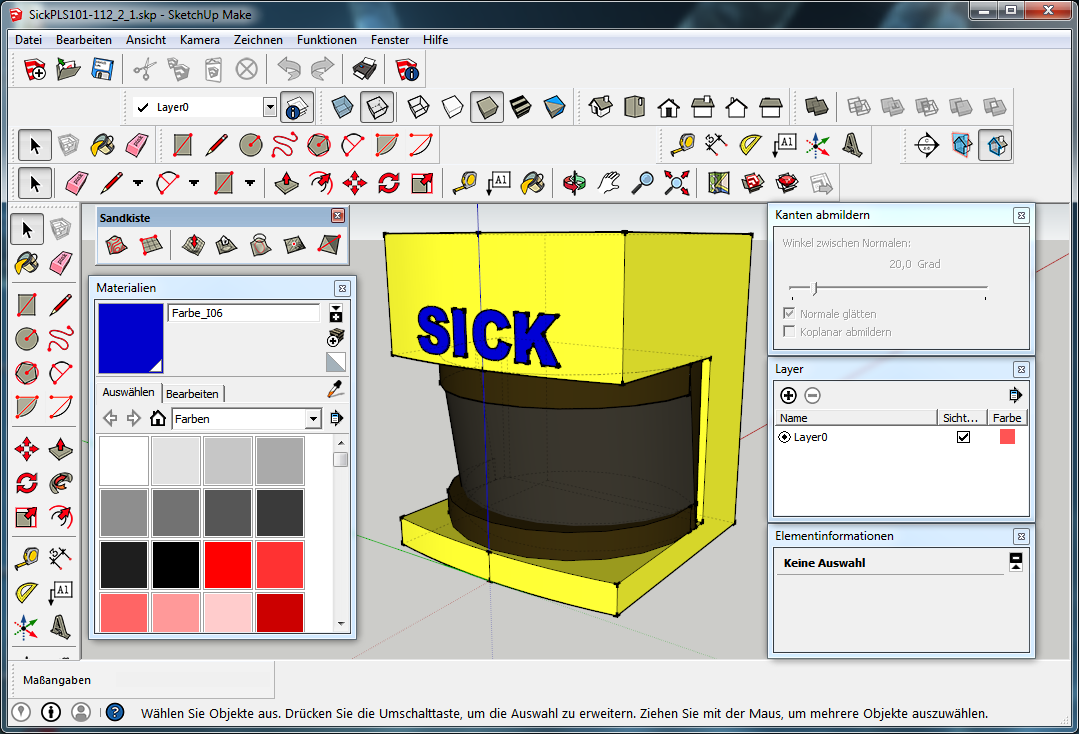 SketchUp Programm Sick PLS101-x12
Nachdem das Modell erstellt wurde lässt es sich als Google Earth-Datei (*.kmz) oder als Collada-Datei (*.dae) exportieren.
Für rviz ist nur die Collada-Datei interresant, da diese dort geladen werden kann.
Es kann manchmal zu Problemen beim Laden von Collada-Dateien kommen. Dann hilft es oft, die *.dae Datei in eine *.stl Datei umzuwandeln. Dafür kann das kostenlose Open-Source Programm MeshLab.
Sick PLS101-x12
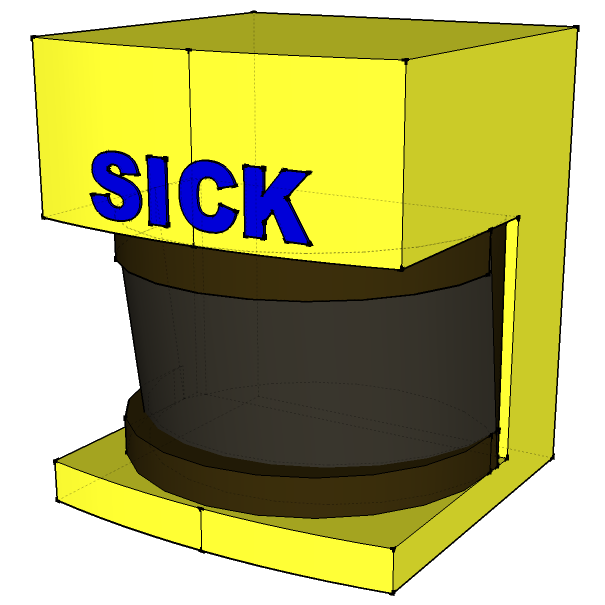 SketchUp Sick PLS101-x12
Sick PLS Mount
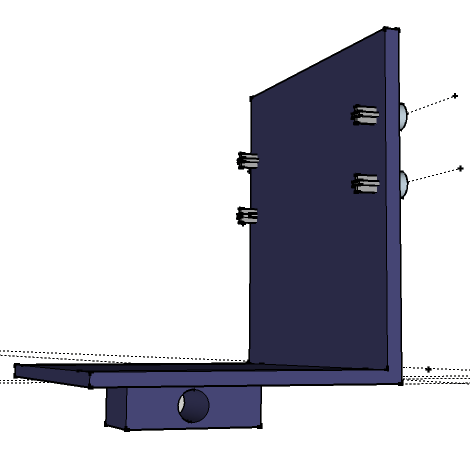 SketchUp Sick PLS Mount
Meyra Genius Front Wheel
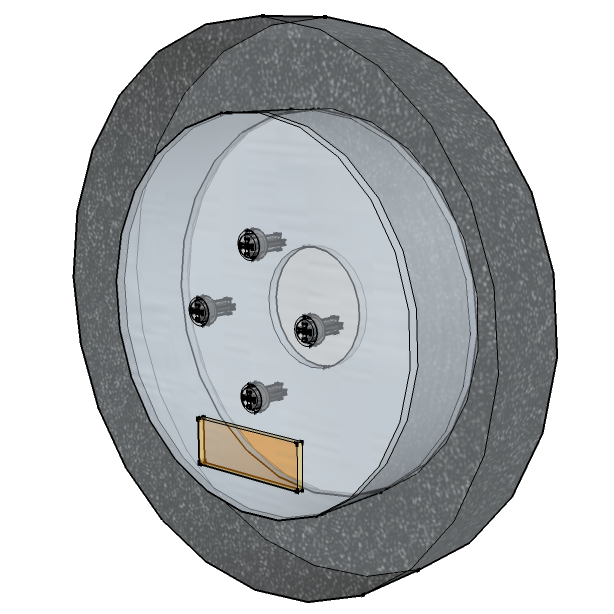 SketchUp Meyra Front Wheel
Signal Light
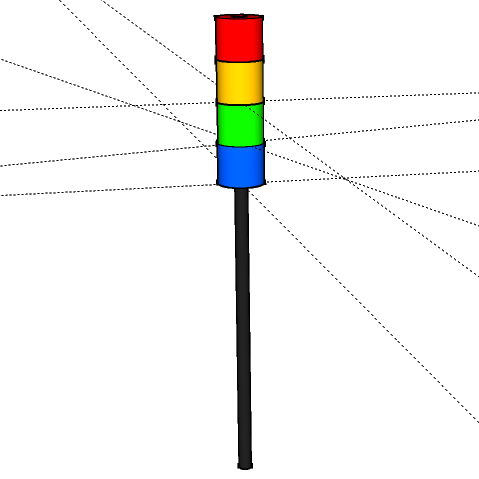 SketchUp Signal Light
Einbinden von mesh Modellen in rviz
TBD
<address>
<strong>Twitter, Inc.</strong><br>
795 Folsom Ave, Suite 600<br>
San Francisco, CA 94107<br>
<abbr title="Phone">P:</abbr> (123) 456-7890
</address>
<address>
<strong>Full Name</strong><br>
<a href="mailto:#">Diese E-Mail-Adresse ist vor Spambots geschützt! Zur Anzeige muss JavaScript eingeschaltet sein!</a>
</address>


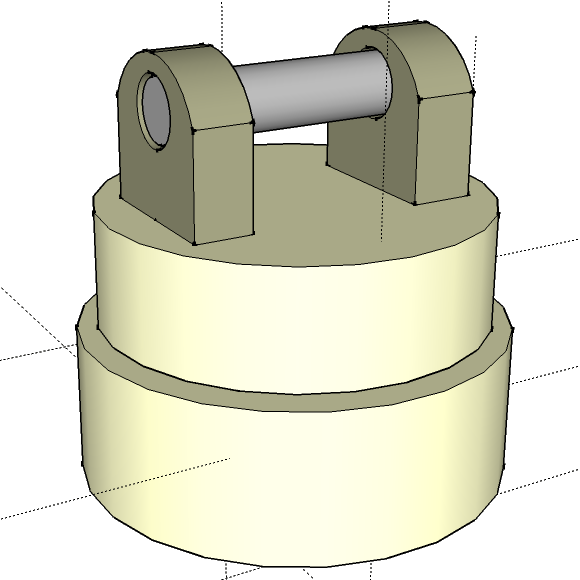 SketchUp Pan Tilt Sick Mount (
Comments powered by CComment